
Creating Botanical Sketches from Seed Heads and Berries
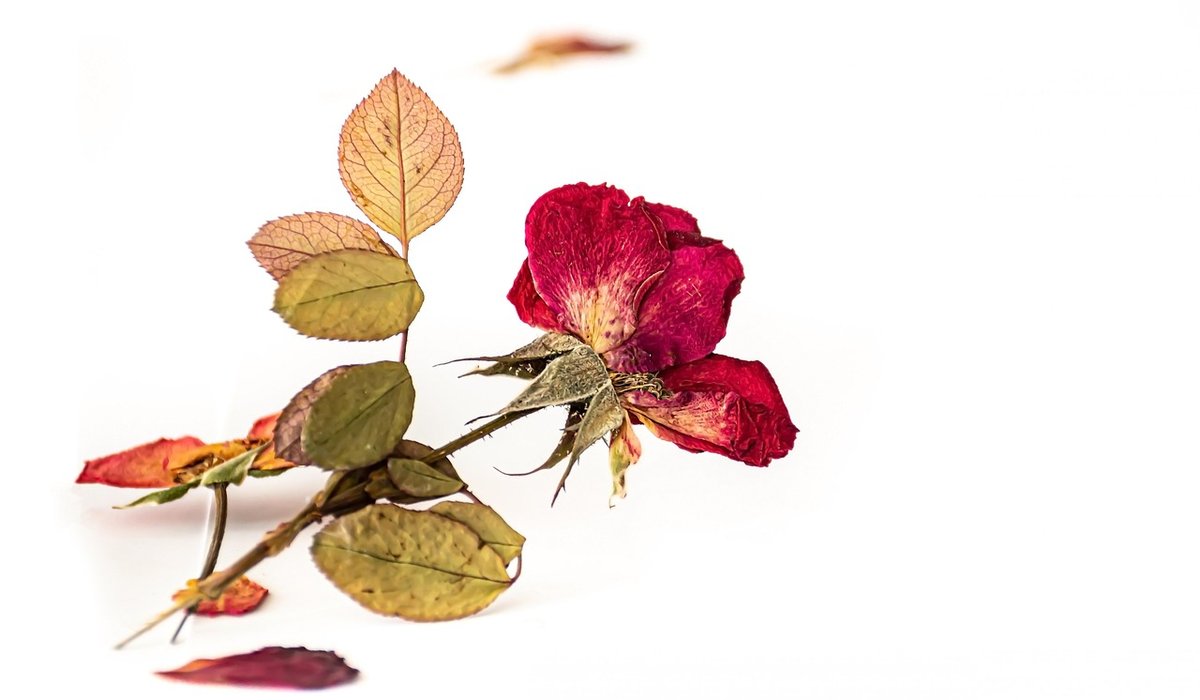
Why autumn rewards the close observer
By late September the garden has stopped performing and started explaining. Flowers have done their work and what remains is structure: the spiral of a sunflower heart, the papery lantern of a Chinese lantern, the tight bead of a hawthorn berry. This is the best time of year to draw, because autumn gives you architecture rather than colour. You do not have to be a trained botanical illustrator to enjoy it. You need a quiet hour, a sharp pencil and the willingness to look at one seed head for longer than feels reasonable.
Gathering seed heads and berries
Collect on a dry morning once the dew has lifted. Damp material moulds quickly and loses its shape within a day.
- Seed heads: allium, teasel, honesty, poppy, nigella, eryngium and the umbellifers — fennel, dill, carrot — are all generous subjects. Pick them when they are fully open but before they shatter, usually when the stem has turned from green to straw.
- Berries: rosehips, hawthorn, rowan, spindle, cotoneaster, ivy and snowberry. Take a short length of stem with a leaf or two, because the arrangement of fruit along the stem is half the drawing.
- Quantity: one or two stems of each is plenty. Never strip a plant bare; leave the rest for the birds and for next year's growth.
Take only from your own garden or with permission, and avoid nature reserves and verges where picking is restricted. Handle with care: many berries — yew, bryony, nightshade, spindle — are toxic. Wash your hands after handling, keep them away from children and pets, and never taste anything you have gathered.
To keep material fresh, stand stems in a narrow jar of water overnight, or store berries in the salad drawer of the fridge. Seed heads are best hung upside down in a cool, airy room, or dried in a paper bag so that any shedding seeds are caught.
Look before you draw
Spend ten minutes simply examining the specimen with a hand lens. Ask questions that will shape every mark you make.
- How does the stem divide? Is it a single axis, or does it branch repeatedly into an umbel or a raceme?
- Where do the seeds sit, and in what pattern? Poppy capsules open like a pepper pot; honesty seeds sit in a translucent silver disc; nigella's pods are striped and inflated.
- Is there a bract, a calyx or a collar of dried sepals still attached? These small details are what make a drawing feel observed rather than remembered.
- Cut one berry in half. Note the number of seeds, the pulp, the thickness of the skin. Even if you never draw the inside, knowing it changes how you draw the outside.
Light the subject from one side, ideally a north-facing window. Raking light reveals texture; flat light hides it.
Pencil first: form, tone and texture
Work on cartridge paper for practice and a heavier hot-pressed watercolour paper, around 300gsm, for anything you want to keep. Start with an H or HB pencil and do not outline. Block in the overall shape with the lightest possible marks — a loose oval for the head, a tapering line for the stem — then find where the shadows fall.
Build tone with hatching that follows the form, curving around a berry rather than across it. Leave the brightest point of each berry as untouched paper; that single white fleck is what makes fruit look round. Switch to a 2B or 4B for the deepest crevices between seeds, and keep your pencil sharpened to a fine point throughout. Work in three or four light layers rather than one heavy one, and stand back from the page every few minutes. It is astonishing how much a drawing improves when you simply stop and look at it from arm's length.
Ink and fine watercolour washes
Ink teaches economy. Use waterproof Indian ink with a fine dip pen or a 0.2 fineliner, and vary your line weight: pressure on the nib where the stem thickens, barely touching where it fades. Resist drawing every seed. A common and effective approach is the "lost and found" line, in which some edges are described crisply and others are left to the imagination, disappearing into a wash.
For colour, keep a restricted palette — burnt sienna, alizarin crimson, yellow ochre, ultramarine — and mix small puddles before you begin. Lay a pale wash over the whole berry, let it dry completely, then drop in a second, more saturated colour while the first is barely damp so the edges soften. For the bloom on a sloe or a damson, a dry brush of pale blue-grey dragged lightly across the finished fruit works beautifully. Deep reds such as rosehips are best built from three thin glazes of alizarin rather than one thick coat, which goes muddy and kills the shine.
Styling your autumn sketches at home
Botanical sketches are rarely framed alone, and a little styling turns a page of studies into something you want to live with.
- Mount small drawings on cream or oatmeal card with a generous border, and hang them in groups of three or five rather than one large frame.
- Mix media on a shelf: a framed ink study of teasels, a small jar of dried honesty, a pewter dish of hips.
- Press spare seed heads between sheets of blotting paper for a fortnight, then use them as gift tags, place cards or bookmarks.
- Keep the palette muted — oak, linen, black, unglazed terracotta — so the drawings do the talking.
Finally, date and label each sketch with the plant's name and the place you found it. A year from now, that small annotation will bring back a whole afternoon.


Bring autumn colours into your home through cushions, ceramics, and artwork, balancing warm shades with neutral walls and natural light.
Choose a comfortable chair, a soft blanket, and a good lamp to build a quiet corner for reading on dark autumn nights.
Make thoughtful presents such as flavoured salts, knitted accessories, and decorated notebooks that suit the cosy season without overspending.
Fill small fabric bags with lavender, cinnamon, and dried orange peel to create fragrant sachets for drawers and wardrobes.